Teaching your child how to ride a bike is a milestone that many parents look forward to. However, traditional bicycles with training wheels can be intimidating and difficult for toddlers to learn on, not to mention encourage incorrect motor learning for your little rider’s.
This is where balance bikes come in. They’re designed to help kids develop balance and coordination without the use of training wheels. These shiny little toys are what we like to call a developmental powerhouse, as they teach children almost majestically to learn the joyous art of bike riding.
In our latest editions here at ilovetoridemybike.com we ride you through a two-part series where our goal is to provide 10 essential tips for parents teaching their child how to ride a balance bike.
Here’s a quick summary of our decalogue of ideas:
Part 1
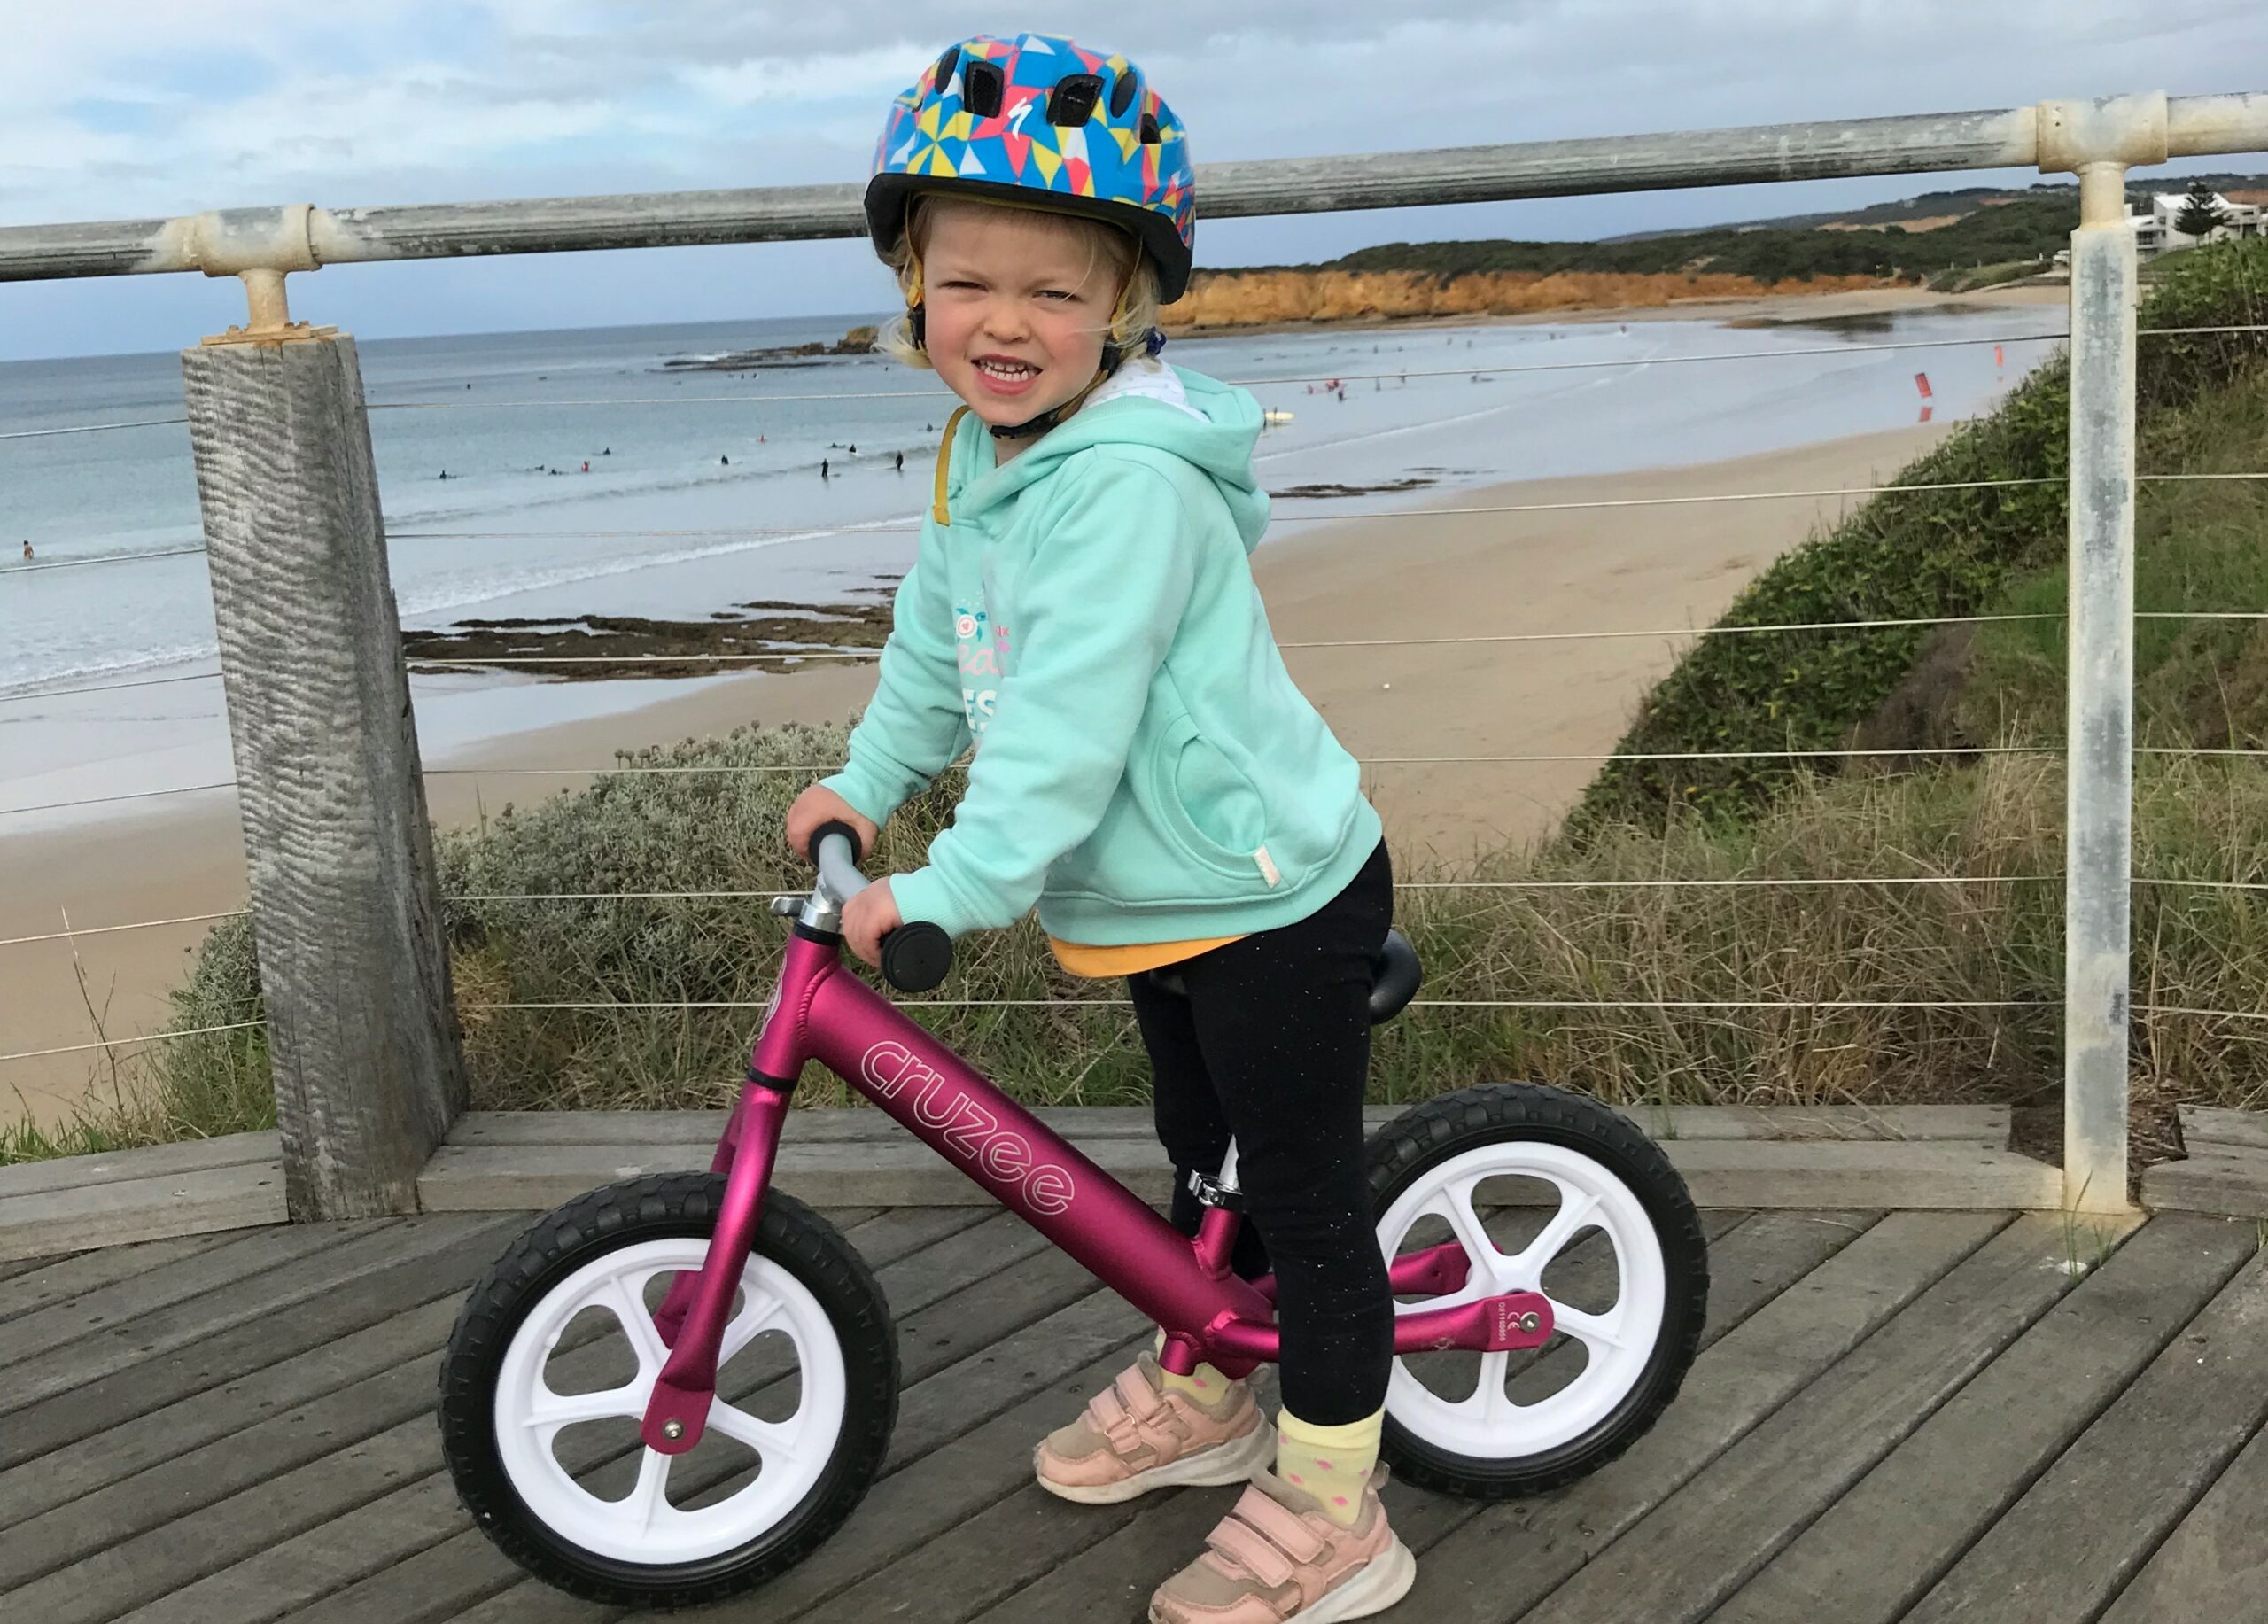
1. Choose the right size bike
2. Have the essential safety gear and clothing
3. Provide the right environment
4. Follow our 4-step approach to learning
5. Encourage walking, running and gliding
Part 2
6. Teach the skills of slowing down and stopping
7. Provide opportunities to practice
8. Model patience and positive reinforcement
9. Encourage, encourage, encourage
10. Make it fun
This post you’re reading right now, Part 1, will outline our first five essential tips.
So, make yourself comfortable and enjoy our latest series that aims to provide 10 essential tips for parents teaching their child how to ride a balance bike.
*** Affiliate disclosure time: We are a customer supported website. Some links on this page are affiliate links. If you click on those links and make a purchase within a time frame, we earn a small commission.
1. Choose the right size bike
It’s important to choose a balance bike that’s the right size for your child.
The most common and widely available balance bike is what is known as a 12″ balance bike. That is, it has 12″ diameter wheels. These will suit most toddlers from around 18 months up to 4+ years.
But there is a caveat here. Balance bikes don’t have a one-size-fit’s-all design. Basically, a 12″ balance bike may fit some riders, but not all.
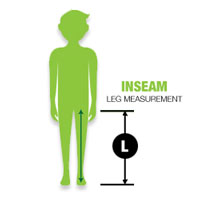
The difference lies in their seat height adjustability and more importantly, your child’s inseam height.
 If you haven’t already, head on over to our post, Balance Bike Buyers Guide.
In that article we outline exactly what determines a balance bike’s size, how to find your child’s inseam and optimal seat height, how to use this to go balance bike shopping and some additional features to consider before buying.
In sum, to choose the right size balance bike be sure to check off the following;
- find your child’s inseam and optimal seat height
- make sure the bike has excellent seat height and some handlebar height adjustability
- ensure your child’s optimal seat height falls toward the lower end of the bike’s seat height range
- check the bike weighs no more than 30% of your child’s weight
- complete a visual check: when seated your child’s feet should be virtually flat on the ground
Just remember, fit the bike to your child and not your child to the bike. Yes, they will grow into a larger bike, but the initial struggle and difficulty for your child learning on a bike that is too big may discourage their future riding.
If you can get the fit right, they will enjoy learning to ride on the same bike for years to come.
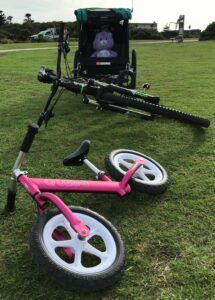
Some highly recommended bikes that have excellent adjustability features include the Cooghi, Cruzee, Vuly, Norco Runner, and smarTrike 3-in-1 Xtend. The smarTrike, also happens to be the only extendable bike in the world!
![]()
2. Have the essential safety gear and clothing
It’s essential for any bike rider to always wear a correctly fitted helmet when riding.
Be sure to purchase a helmet that is adjustable and is fitted correctly. Basically, the straps should form a nice V-shape under their ears, the chin strap is firm yet two fingers can be placed under it, and overall the helmet has a snug fit.
The better designed helmets have a dial at the rear that allows you to really ‘dial-in’ that firm fit. Some better designs that we highly recommend are Lil’ Linus Helmet, Nutcase Lil Nutty – love Bug, and Cooghi Kids Helmet and Pad Set.
We do recommend that you encourage your child to wear other protective gear, such as knee and elbow pads when riding, yet these are not essential.
However, we do recommend sturdy, closed-toe footwear such as runners to always be worn, and long-pants with a long sleave top just to provide those little knees and elbows with some added protection.
You can find out more about our complete guide to balance bike safety by heading over to our posts Balance Bike Safety for Kids Part I and Part II.
*** Note for parents: We (yes me included here) often provide the best safety essentials for our children yet neglect our own. Be mindful to always model correct bike riding safety to your child by wearing a helmet and protective clothing 🙂
3. Provide the right environment
 This next tip may seem obvious, but sometimes we need a gentle reminder about our preconceived ideas.
Be sure to choose a safe location for your child to practice their riding. A flat, hard, smooth surface, such as a bicycle/walk path, hard-packed trails, grassy parks or open playground, is ideal.
Initially, you want this environment to be quiet, away from traffic, obstacles and distractions.
Over time as your child becomes more confident, you can begin riding in different environments that have other pedestrians, bikes, pets and traffic as this will allow you to begin teaching your child about road safety and what being a considerate bike rider is all about.
There are some amazing bike parks and infrastructure being established throughout communities around the world. Take the time to explore and learn about your local area’s bike paths and infrastructure. This will help you better understand where might be best to take your child riding.
In addition, we encourage you get in your car and take a drive to a fun, safe location if you need to, so that your child will be learning in the right environment to suit their current needs and abilities.
4. Follow our 4-step approach to learning
 We have developed what we like to call our 4-step approach to learning model that can be applied to any new skill, concept or technique.
This learning model has been developed and applied through our many years’ experience in education and we know this approach to be a tried-and-true method for learning.
Here, this approach sit’s beautifully in helping to teach your little rider how to ride their balance bike.
Try following our simple 4-step model as shown below;
- explain the skill and why it’s important
- demonstrate the skill through modeling
- check understanding by encouraging and asking questions, and
- allow your child to practice / explore the skill on their own
Remember, kids learn by example (scary I know) so as best you can demonstrate how to ride the balance bike by using your own bike to mimic the movements of walking, running and gliding (see below).
5. Encourage walking, running and gliding

Ok, we have discussed the simple 4-step approach to learning, now let’s put this into practice to teach your little rider how to get moving on their bikes.
Begin by explaining that to enjoy riding (or walking at this stage) and have fun all they need to do is walk while sitting in their seats, keeping both hands on the handlebars to steer.
You can demonstrate this on your own bike to show them what this looks like.
Ask them some simple questions and see if they have any questions of their own.
Now it’s time to allow them to explore and have fun as they begin the process of learning how to get moving on their bikes. You really won’t need to do any more than this, as kids intuitively get walking, jogging or running on their bikes.
Once your child is moving along nicely, use the same 4-step approach to teach your child how to glide.
Explain and demonstrate this by gliding and placing your feet in front, behind and also on your bikes chain stays (the part of the balance bike that may have a footrest) so that they can clearly see what a glide is and where to place their feet.
This is a key skill to develop as it enables a toddler to develop the essential skill that balance bikes were designed for.
Balance!
*** Important note: Throughout this process remember your child is unique in every way. Some will take to riding a bike like a duck to water, others, will require more time and encouragement.
There’s no rush or assessment date with learning how to ride a bike. So keep it fun and provide plenty of encouragement and your child will have a blast of a time.
Overall ilovetoridemybike.com conclusion
This concludes Part 1 in our two-part series on 10 essential tips for parents teaching their child how to ride a balance bike.
Be sure to check out our capstone post, Part 2 in our series at ilovetoridemybike.com.
If you would like to learn more about how to teach your child how to ride a bike, head over to our posts, How to teach your child how to ride a bike – Part 1 and Part 2. We are certain you will find these super helpful.
How is your child’s riding going? We would love to hear from you, so please send through any questions or comments below, we are here to help.
Until next time, happy riding!
My son is five and wants a bike, so I must teach him how to ride it. He wants it because he sees his siblings riding, and I was looking for tips to teach him, but I didn’t know where to start. I appreciate your points on how to help a child ride a balance bike. Thank you for making it easy for me. You explained everything in detail in your post. I’ll start by choosing the right size bike and essential safety gear, including a helmet, knee and elbow pads, closed-toe footwear, long pants, and long-sleeved tops. I’ll try to be patient even though I feel stressed most of the time. I’ll do my best to encourage and create the right environment for him to learn and grow. Before reading your post, I didn’t realize how important it is to encourage my child, and I thought there was no need for that since it’s just a bike.
Hi Ziya, thanks for taking the time to send through your comments to us.
We are glad you have found our post helpful. I can clearly see that you have really engaged with our post and are ready to put this into action to teach your son how to ride. That’s just brilliant. Good luck, he will absolutely love spending time with you learning how to ride his bike.
Yes, encouraging your child in their interests is powerful. If you have any further questions along the way, feel free to send me a message to our site or email. We are happy to help. Happy riding!
Excellent article. I taught my kids to ride their bikes and I am sure I will teach my grandkids. I used many of the methods you described in the article such as finding a non-threatening environment for them to learn and providing clear instructions but stepping back afterward to let them explore while trying and failing until they figure it out. I’m always amused with safety gear, I definitely see the need now as a parent, but when I was a kid I was jumping ramps, riding in the street all with no gear and I survived=) Safety gear is important but not way back when! Thanks again
Hi Brian, thanks for stopping by and sharing your thoughts.
We are glad you liked our article. It sounds like you have put into practice some excellent techniques to help teach your kids how to ride, they are very fortunate to have had such a great role model to help them learn. Well done.
Do you have an education background?
I totally understand your amusement at the safety gear and level of safety standards today, as opposed to when you (and I) were kids. My growing up and learning to ride a bike only just witnessed the introduction of mandatory helmets (I was around Grade 4) in Australia.
Today, it’s brilliant to have a better understanding of, and products available if parents choose to have these, which is a good thing. Thanks again for sharing. Feel free to send us any further questions. We are here to help.
Happy riding!
I have never heard of a balance bike before?
Do you think they are easier to learn how to ride than the traditional bike with pedals. I thought that was the only type of bike. I may have to look into one of these next summer when my baby turns 2. I think this may be very beneficial top her to learn balance early on
Hi Amanda, thanks for stopping by and commenting on our post.
The most inspiring point in your comment for us is that we have introduced you to the world of balance bikes! These are THE best means of teaching your child to ride a bike. If your child is around 2 years old, this is the perfect time to look into purchasing a 12″ balance bike with excellent seat height adjustability, such as the GOMO or Cruzee for example.
Learning the skills of balance and coordination on a balance bike make the transition to a pedal bike super easy in a few years’ time. You will be amazed at how much fun they have along the way too.
I believe you would benefit from reading our posts below when you have the time:
What Age Should a Child Get a Balance Bike? – ilovetoridemybike
Why Are Balance Bikes the Best Way to Learn How to Ride a Bike? – ilovetoridemybike
We hope that you find these helpful. If you have any questions along the way, feel free to contact us. We are here to help you.
Happy riding!